Hello, fabulous folks! Are you all set to plunge into the amazing universe of at-home manicures? Taking the DIY route for your nails is not just a splendid way to pinch pennies; it’s also an exhilarating avenue to flaunt your unique style. So, why don’t we embark on a journey to achieve salon-enviable nails, right from the cozy comfort of your own home? Let’s dive in!
Prepping Your Nails
First and foremost, begin with a blank canvas. Start your manicure by removing old nail polish gently. The Strengthening Lacquer Remover is designed to effectively cleanse while conditioning your nails, setting a healthy foundation.
give your hands a good scrub, and voila—you’re ready for some magic! Next up, shaping! Choose a shape that flatters your fingers—be it oval, square, or the ever-elegant almond. A pro tip here: always file in one direction to keep those pesky snags at bay. Finished shaping? A quick buff transforms your nails, prepping them perfectly for the polish and promising a longer-lasting manicure.
Selecting Your Arsenal
You’ll need some basic yet essential tools like clippers, a file, and a cuticle pusher, all within arm’s reach. When picking nail polish, go for quality. Not only does it stay longer, but it’s also less likely to chip. Remember, opting for non-toxic options is a win-win—they’re kinder to your nails! And don’t forget the dynamic duo: a base coat to protect from stains try Gel Genius Base Coat it’s not only prevents staining but also helps strengthen the nails, ensuring a smoother application of color and then Gel Genius Top Coat that transforms any polish into a gel-like manicure and extend the life of any polish for up to two weeks.
Nail Health Essentials
Cuticle care is crucial—nurture them with some nourishing oil and gently push them back —no cutting needed! you should try Cuticle Saver this essential nail set will Remove excess cuticle buildup then keep cuticles hydrated. Keep your hands and nails moisturized to fend off breakage and encourage growth. Facing weak nails? need a Transformative treatment for dry or peeling, damaged nails. then try Get Well Nail Recovery The ultimate kur-intensive treatment for thin or peeling, damaged nails—including nails suffering from post-acrylic or UV gel usage.
The Manicure Magic
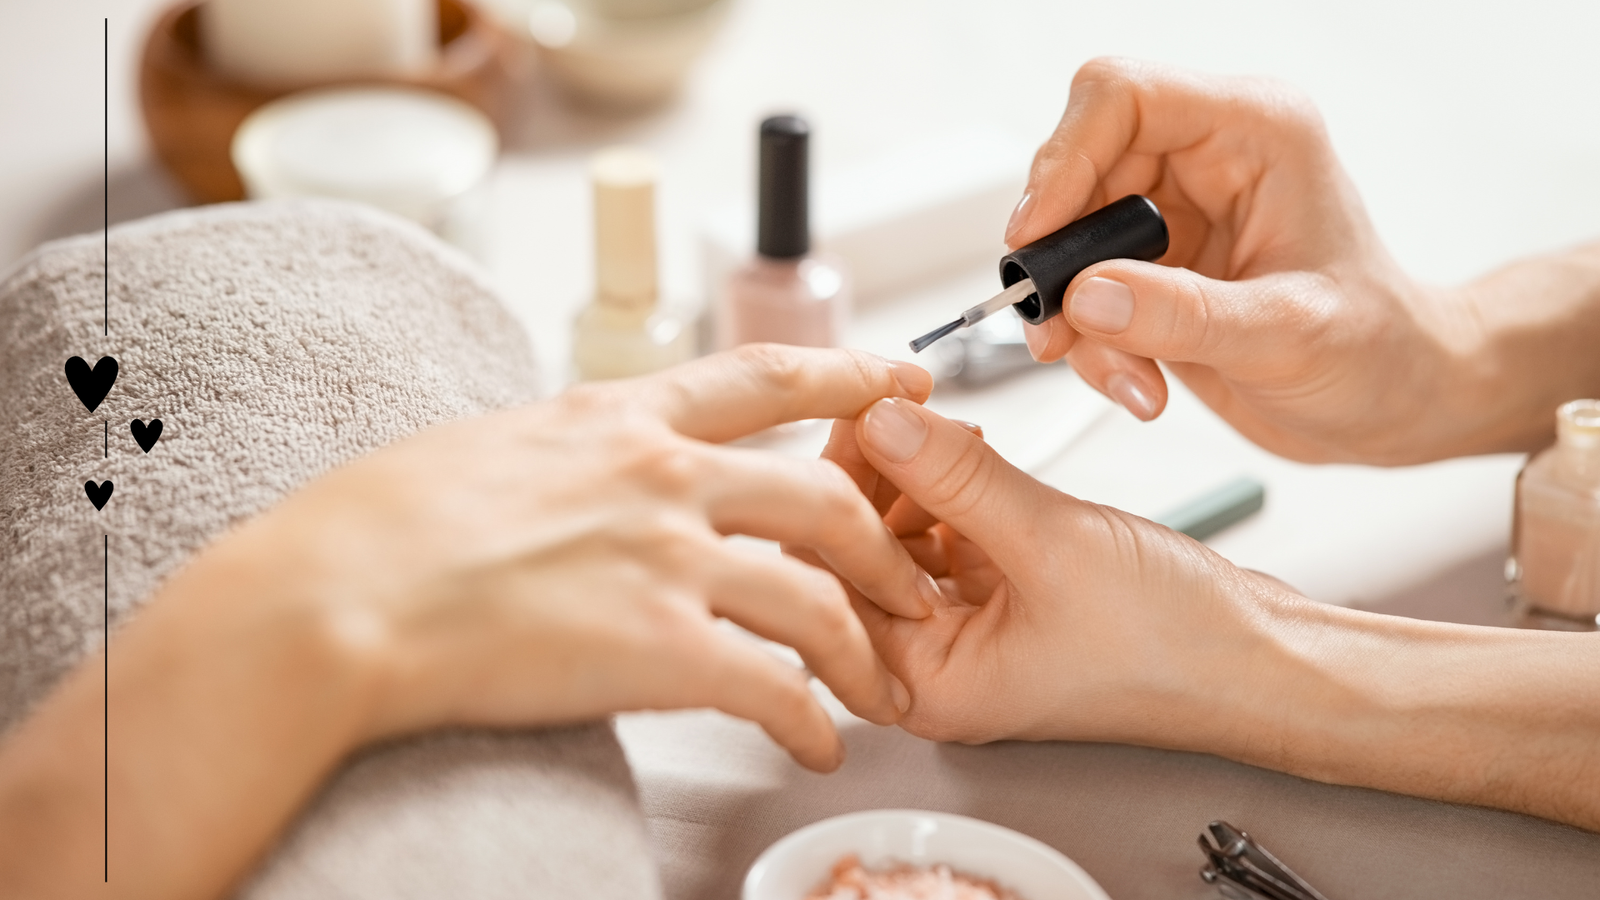
Start with a sleek layer of base coat; let it dry completely for flawless polish adherence. When applying color, begin with a central stripe followed by one on each side, allowing each coat to dry thoroughly. Patience is your ally here! Finish with a top coat to lock in your color and dazzle with shine. And take a moment to cover the tips of your nails to ward off chipping.
Beyond the Basics
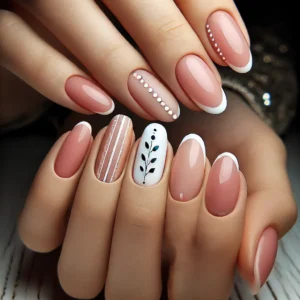
Dreaming of a French manicure? Use guides or tape for those pristine tips and top it off with a sheer pink or nude for that timeless charm. Dabble in nail art with simple dots or stripes using a toothpick or a thin brush—an effortless way to sprinkle some personality onto your nails. Ready to level up? Play with dotting tools and stencils for more elaborate designs. Remember, practice makes perfect!
Keeping Up the Glam
A swift top coat refresh every few days can remarkably prolong your manicure’s life. Got a chip? No panic! Just smooth the area, apply a fresh coat of polish, and seal it with a top coat. For removal, opt for a gentle, moisturizing Strengthening Lacquer Remover to keep your nails happy and healthy.
Solving the Snags
To dodge smudges, allow ample drying time between coats. To prevent those annoying bubbles, roll your polish bottle instead of shaking it. And to keep your manicure pristine, don gloves when handling harsh chemicals and choose mild hand sanitizers.
There you go! With the right techniques and a sprinkle of patience, you’re all set to master your at-home manicure. And hey, if it’s not spot-on the first time, no worries—each try is a step closer to perfection.
Call to Action, Why not put these tips to the test and flaunt your newfound skills? Stay tuned for more beauty insights and tutorials. Let’s keep making beauty fun together!

